0112° – 60°
Track Systems
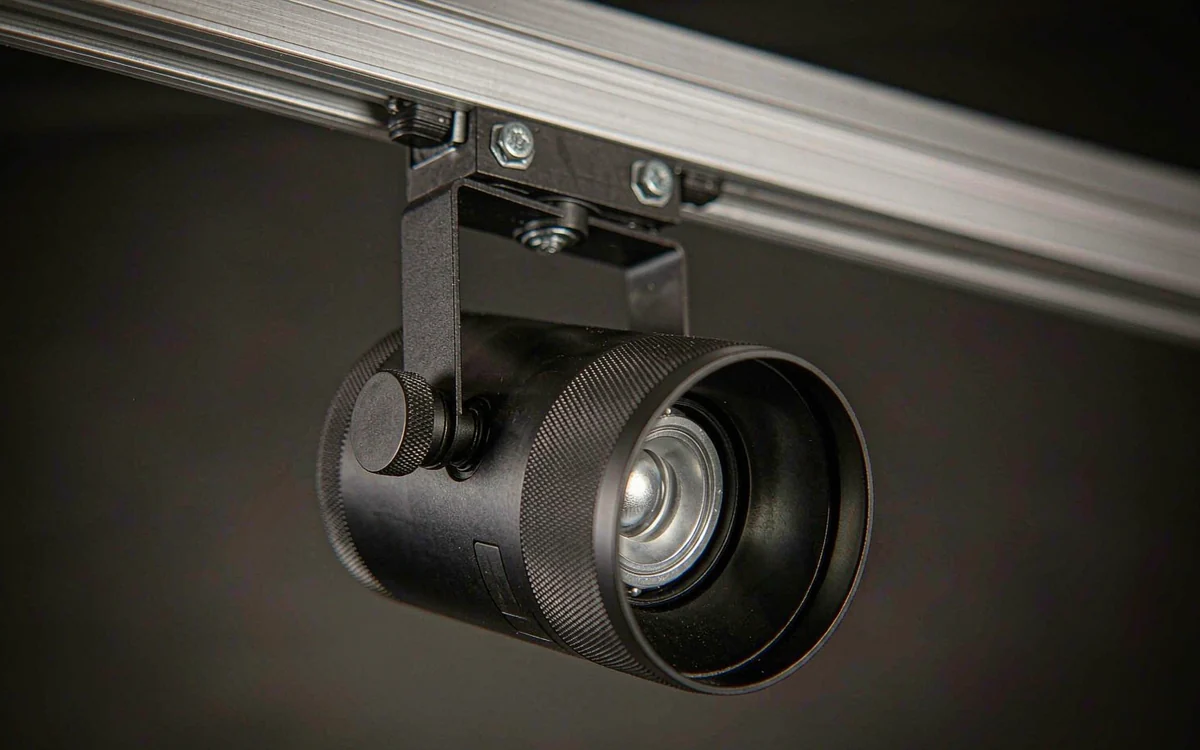
Adjustable heads on 1-circuit and 3-circuit track, with swappable reflectors for changing floor plans.
View family
SHOWROOM LIGHTING / LAYOUT DEMO 02
Track, recessed and linear fixtures specified around what the visitor should notice first — beam angle, colour rendering and glare control come after that.
What is on display, how high is the ceiling, and how much daylight is in the room.
FIXTURE FAMILIES
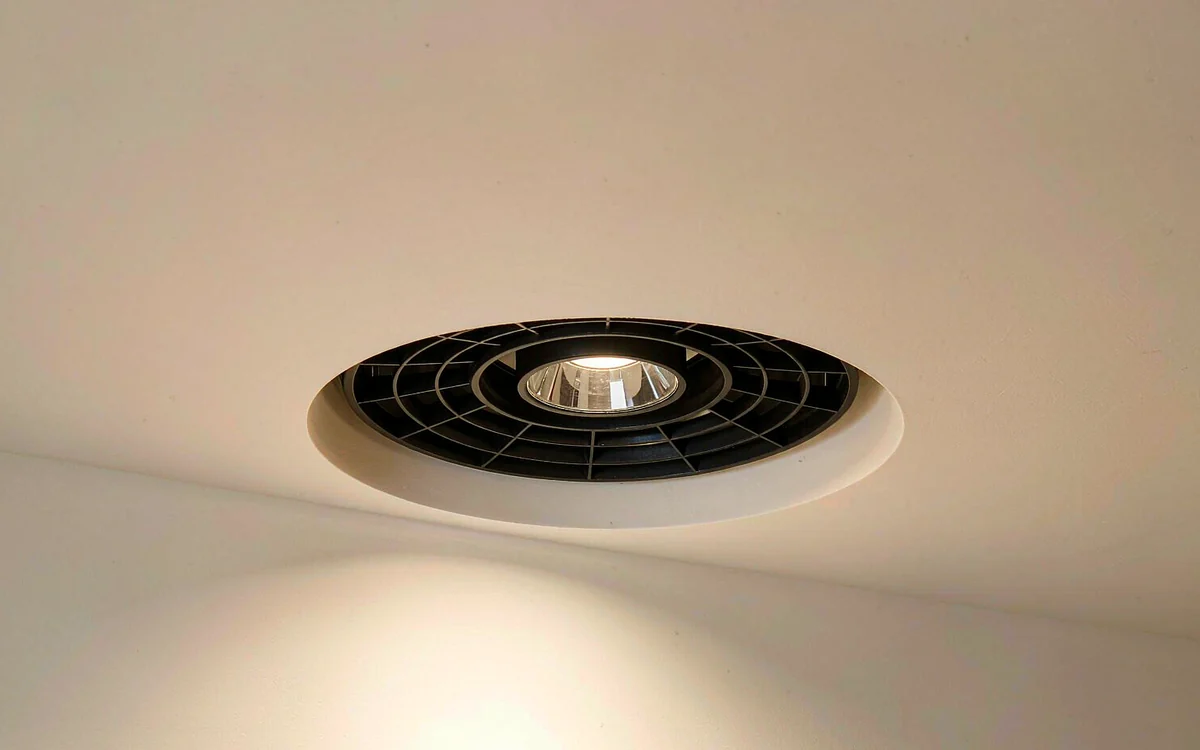
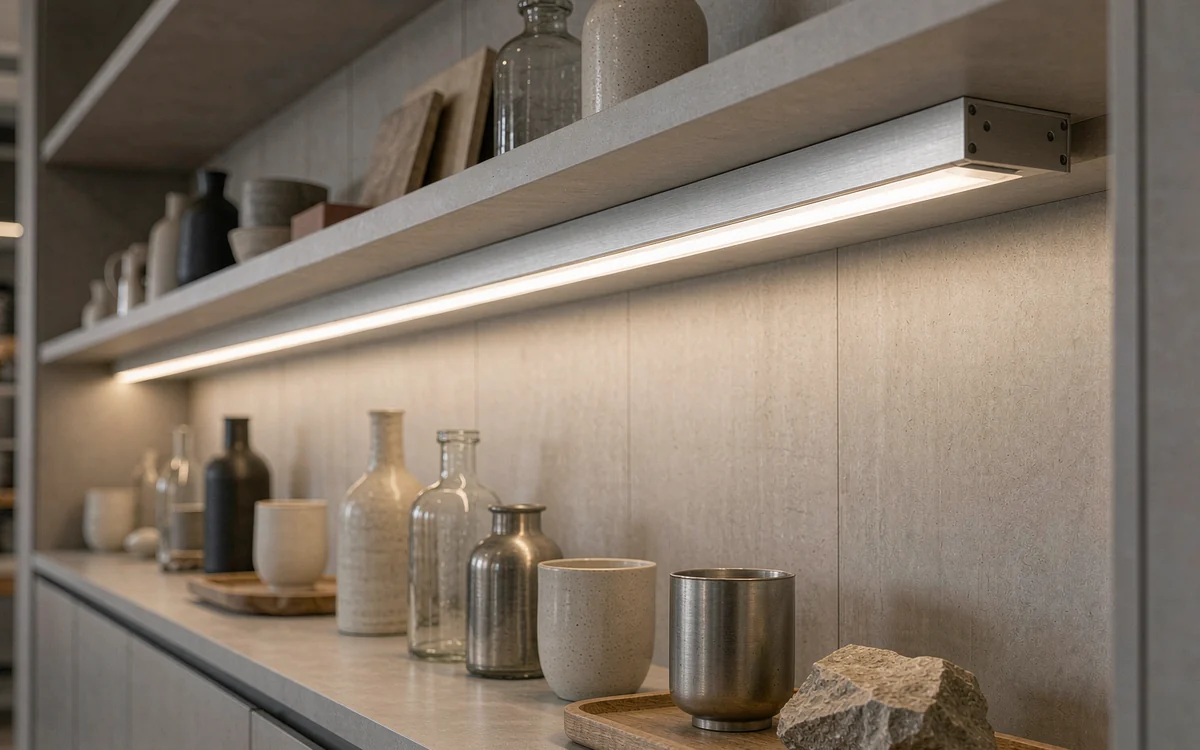
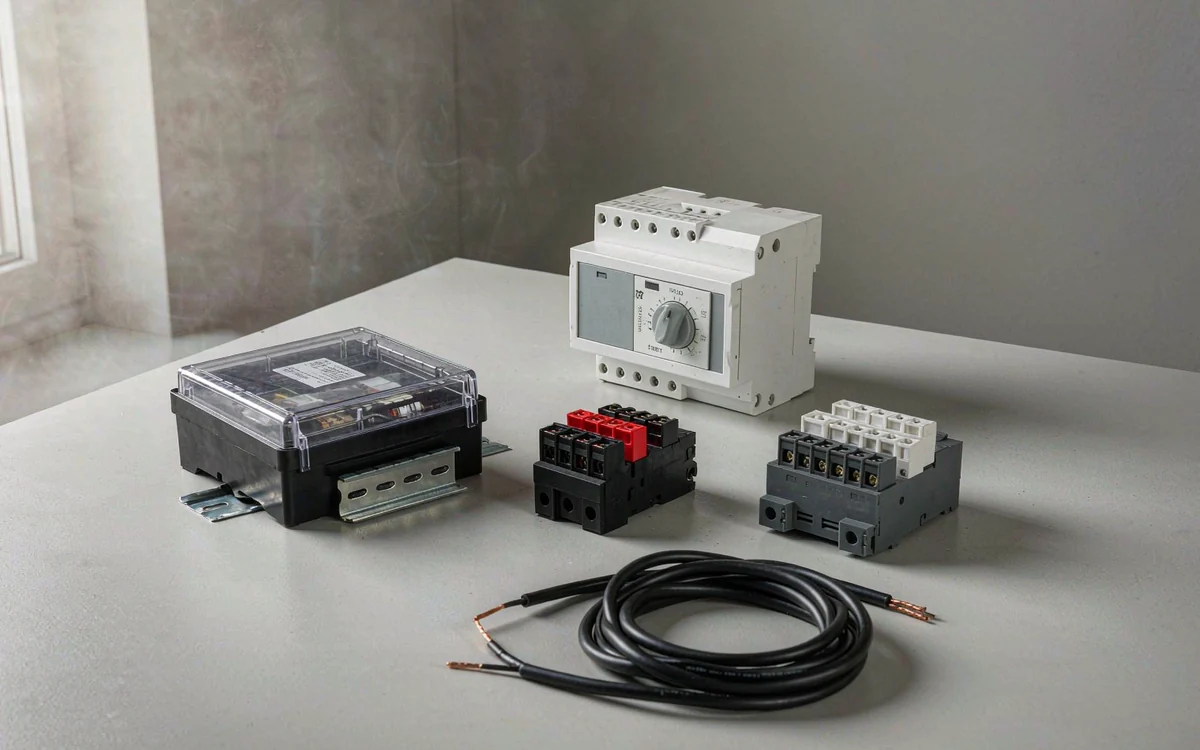
Four fixture families, each with its own optic, mounting method and control interface. The beam shape is the fastest way to narrow a specification.
Beam angle follows the object size; CRI follows the surface colour; control follows how often the room layout changes.
Adjustable heads on 1-circuit and 3-circuit track, with swappable reflectors for changing floor plans.
Recessed, fixed and adjustable with deep-set optics for low-glare ambient layers.
Continuous runs for shelves, coves and display cases, with diffusers chosen for the viewing angle.
Drivers and scene control for multi-zone showrooms where displays change by season.
INSIDE THE OPTIC
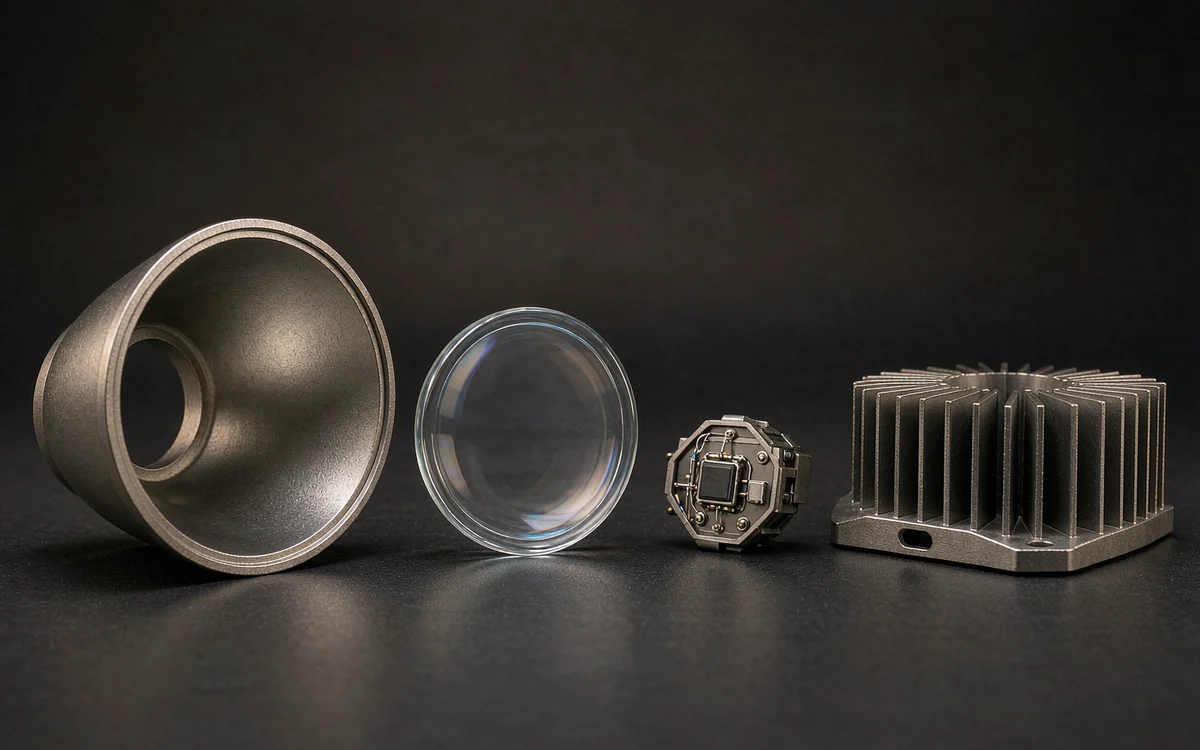
What is worth checking before a light plan is signed off: which reflector is fitted, where the LED sits, how heat leaves the housing and how the beam is cut off.
Optics decide the lit area on the object. Change them after installation and the whole aim schedule has to be redone.
Beam angle, field angle and the cut-off that keeps light off the surrounding wall.
CRI 90 or 97, 2700–5000 K and colour consistency recorded per batch.
Heatsink sizing for enclosed ceilings and insulated recessed installs.
Deep-set optics, baffles and UGR targets for the viewing direction.
WHERE IT GOES
Beam angle, colour rendering and control change with what is on display. These four spaces cover the constraints that come up in a first enquiry.
Each room changes one dominant requirement. Find that first and the rest of the light plan follows.
Accent lighting for fashion and accessories, with track positions that move as the floor plan changes.
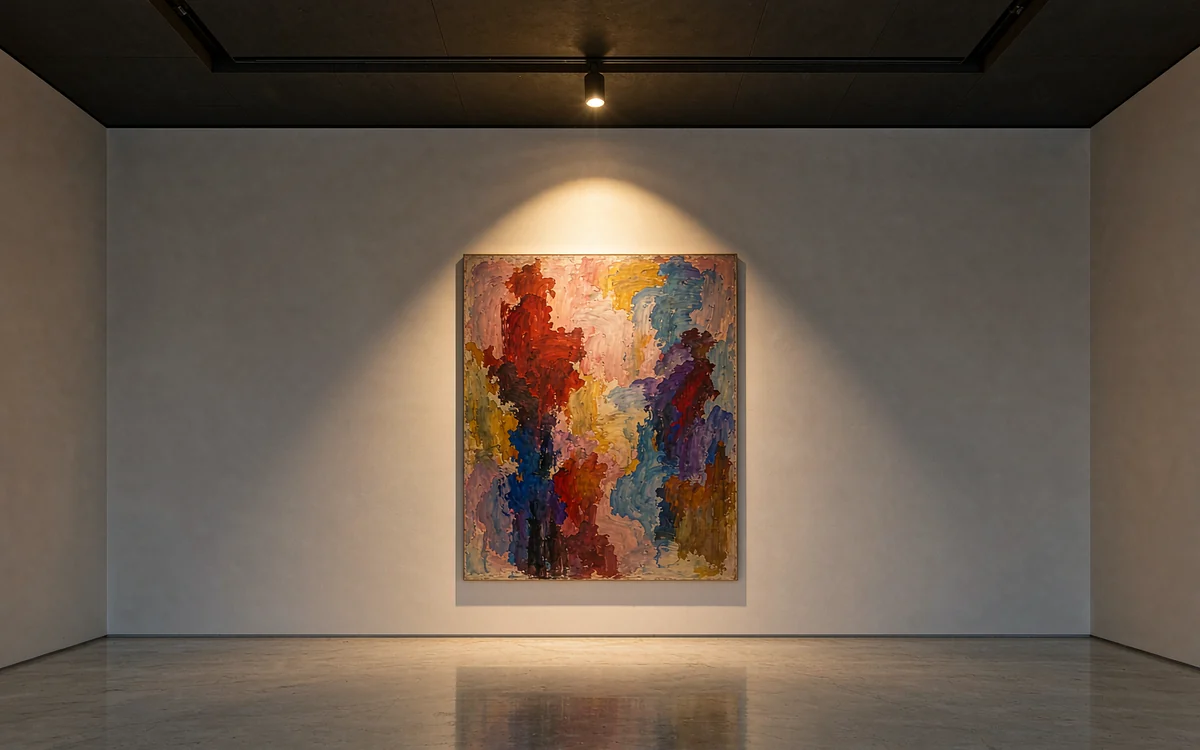
Tight beam control, high colour rendering and UV-aware choices for sensitive works.
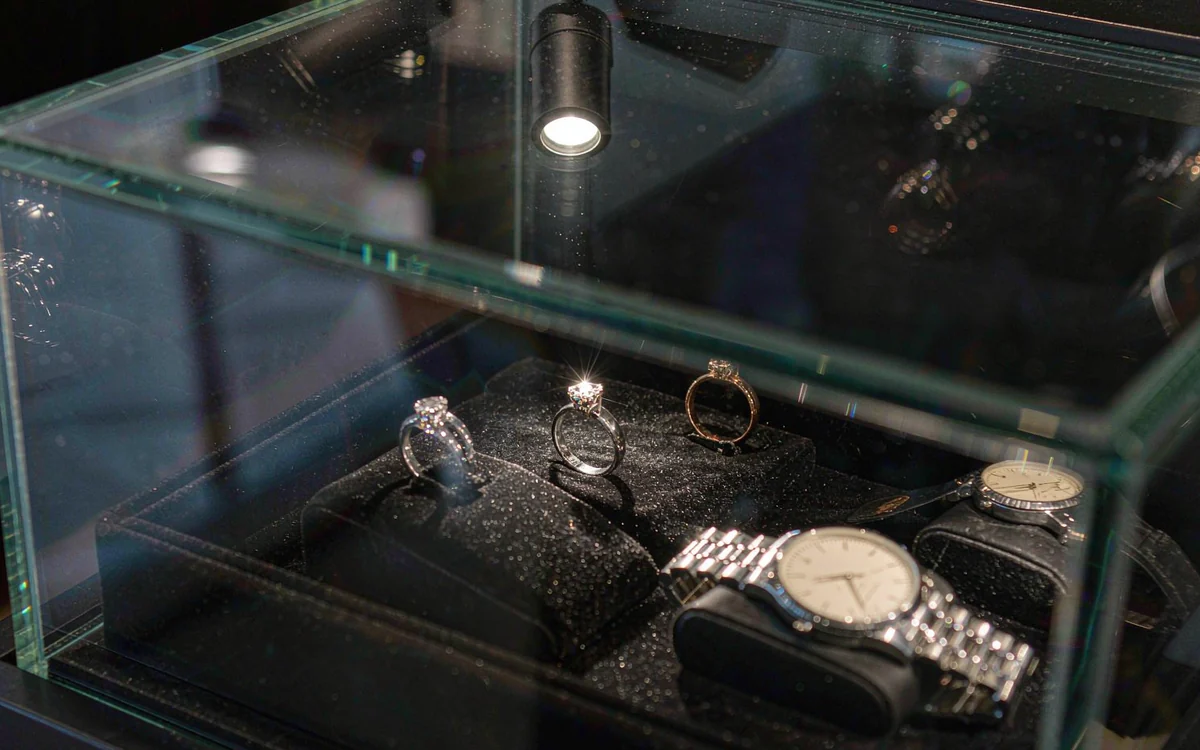
High-intensity accent and sparkle without washing out the display case or the metal finish.
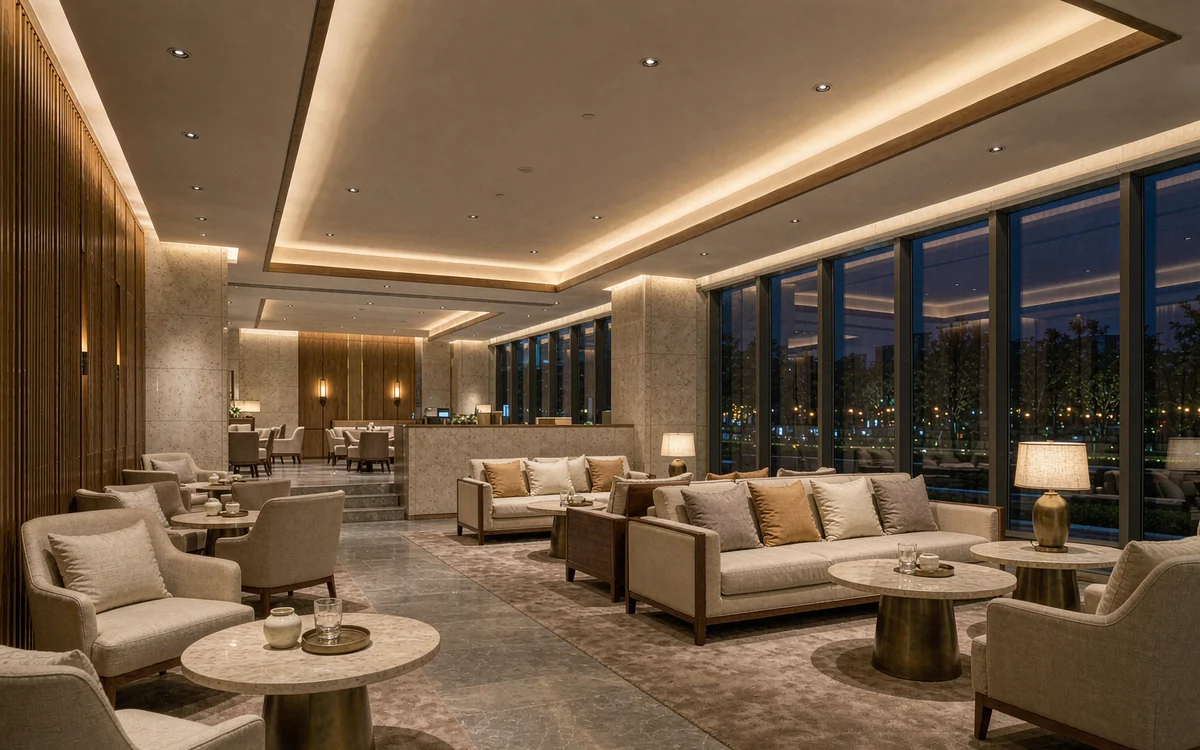
Layered ambient and task light that stays comfortable over a long sitting.
FIXTURE COMPARISON
Read across a row to see what changes between fixture families. These are layout ranges for comparison, not a substitute for a photometric file.
Start with the object size, then the ceiling height, then how often the room is re-merchandised.
TYPICAL RANGES
Indicative ranges across the fixture families. A real specification starts with the room, not the wattage.
Every range here narrows once the object, the ceiling height and the daylight in the room are known.
LIGHTING CONTEXT
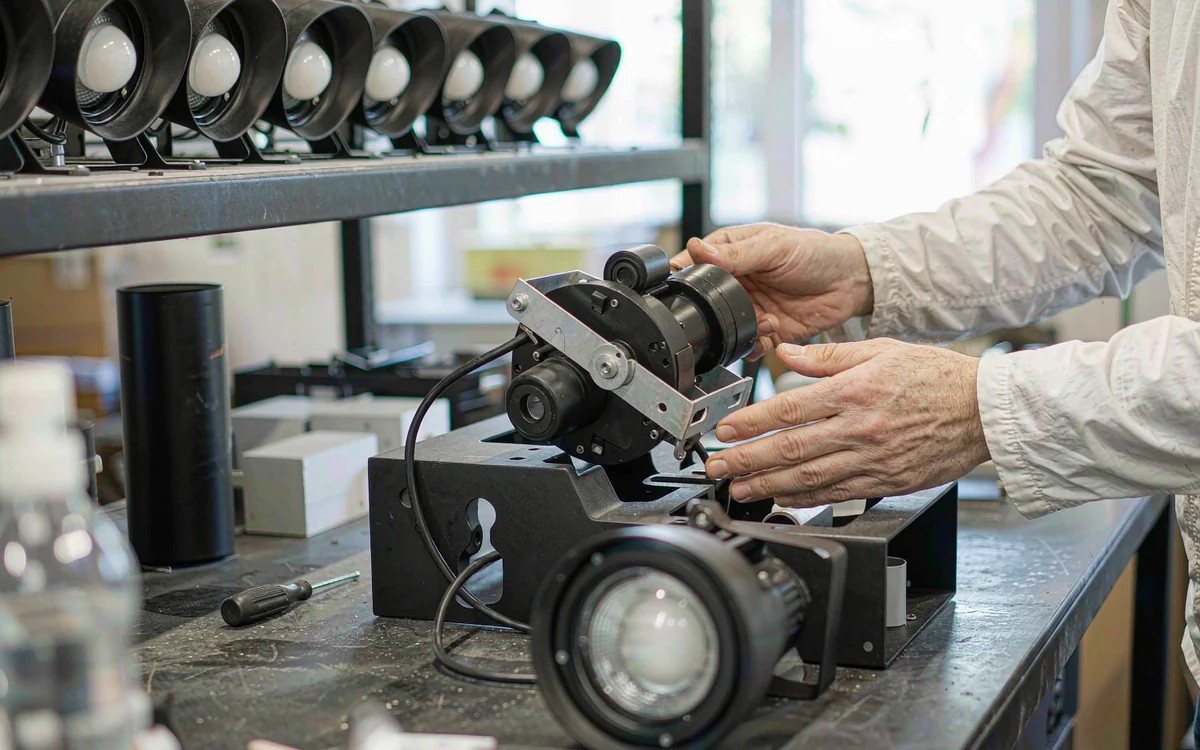
Application references shown as illustrative photography. Each frame isolates a different constraint on the specification.
These are illustrative application images, not photographs of completed projects.
OPTICS & ASSEMBLY
Four stages that change how a beam lands. Useful on a first visit, before anyone asks for a photometric report.
CCT and output records are kept against production batches, so a later replacement can be matched.
Reflector and lens choices matched to beam angle and cut-off.
Beam distribution and glare measured per fixture family.
Heatsink sizing for enclosed and recessed installations.
CCT and output checked across a production run, recorded by batch.
WHAT SHIPS WITH IT
A lighting layout is a set of documents as much as a set of fixtures. This is the delivery file an installation team actually uses.
Ask for these four documents before the fixtures leave; they are what make a later re-aim straightforward.
IES data per optic, so the lux estimate can be checked against the plan.
Fixture positions, tilt angles and target points on one sheet.
Zone grouping, dimming curves and the DALI or 0-10V address list.
Reflectors, diffusers and drivers with quantities for the build.
PROJECT PATH
Four steps, each with something the client can look at and sign off before the next one starts.
Every step ends with a drawing, a sample or a setting sheet, not a status update.
Ceiling height, display positions, finishes and daylight recorded on the plan.
Fixture layout, beam angles, control zones and a lux estimate.
One bay lit on site to check the beam, the CRI and the glare in person.
Aim points, scene settings, photometric files and a maintenance sheet.
BEFORE YOU ASK
Short answers to the six things that usually decide a fixture specification. The full answers live in the layout guide.
A beam angle worksheet is usually faster than a long email thread.
Work backwards from the object size and the throw distance. A small object far away needs a narrow beam.
It matters where surface colour is the product — artwork, fabric, jewellery. For circulation areas CRI 90 is usually enough.
DALI suits rooms with changing zones and scenes; 0-10V is simpler where one dimming group is enough.
Deep-set optics, baffles and a UGR target checked against the actual viewing direction, not just the datasheet.
CCT and output are checked per batch against a 3-step SDCM target and recorded before packing.
One representative bay, the finish samples and the object that will be lit. A photo of the space is enough to start.
DOCUMENTS
Three sample documents a buyer usually asks for before a layout discussion. Shown here as layout placeholders.
These are placeholders in a demo layout, not downloadable files.
Beam angle, CRI, CCT and driver ranges collected in one table.
View sampleA short worksheet for turning object size and throw distance into an optic.
View sampleCeiling, finishes, daylight and control zones to confirm before sign-off.
View samplePLAN A ROOM
Ceiling height, shelf positions and the objects on display are enough to start a beam layout.
Request a light planThis is a layout demo. No enquiry is actually sent.